Monday, February 20, 2017

The Brooklyn Bridge: Literature, Research and Collaboration

Over the course of several weeks the second grade classes embarked on a design project inspired by the studies they had been doing in their classes about the late-1800s and the book Twenty-One Elephants and Still Standing by April Jones Prince. In their classrooms students were spending time learning about the different aspects of life in the late 1800s including innovations, social justice and literature. In the library we read the book Twenty-One Elephants and Still Standing about the building of the Brooklyn Bridge. The book shares the story of the bridge and the fear people had at the time of the suspension bridge. PT Barnum, the great showman, arranged a stunt to prove the bridge was sturdy. He walked 21 elephants from his circus show across the bridge from Manhattan to Brooklyn to prove to people that the bridge was safe. Students read the story and reflected on what they learned about the bridge and connections to what they had learned about that time period.


Next, students engaged in the See/Think/Wonder thinking routine (Project Zero Making Thinking Visible: Thinking Routines https://tinyurl.com/l7kwhbm). As a class, students shared what they saw in the book including pictures and the story, what they thought about what they saw in the book and what they wondered about. The next step was to look at archived images from the New York Public Library Digital Collections. The pictures and drawings were from the building of the bridge. The images were posted around the library. Students spent time in small groups looking at each of the images and using the See/Think/Wonder thinking routine. The wonder questions from both of these thinking routine sessions became the foundation for our research into how the Brooklyn Bridge was built and how suspension bridges work.


The next step was to learn more about the building of the Brooklyn Bridge. Students learned about how the bridge was built on caissons. We learned about how the workers went into the caissons to level out the mud. They also learned about how many workers became sick with decompression sickness, including one of the engineers designing the bridge. Students learned that laws were passed after the building of the Brooklyn Bridge to protect the workers that were working in these dangerous conditions. Students all learned how the towers were built and the cables connected on the bridge to make the suspension bridge stable. We used Google Earth to explore the Brooklyn Bridge as well as the Golden Gate Bridge and noticed details of suspension bridges.


The final step was for students to work in small groups to design and built their own bridge inspired by what they learned about suspension bridges. They had to design bridges that could hold 21 small plastic elephants. Students were given a variety of materials to build with including cardboard, plastic cups, yarn, popsicle sticks, pipe cleaners and more. Students had to design, built, compromise with others, and rework/redesign to come up with a suspension bridge to hold the elephants. Students did a great job applying what they learned about the building of the Brooklyn Bridge and created new bridge designs. Student groups collaborated to design, prototype, test and rework their bridges designs throughout the project. They were creative with the use of the materials and how they utilized them to create their bridges.  With this project students continued to make connections with the literature they are reading, the history they are learning about as well developing their communication and collaboration skills!


Sunday, January 22, 2017

A Ruby Bridges Study: Empathy and Perspective with Pre-School Students

I have been thinking about what I can do in the library to help my students gain empathy and start to have an understanding and knowledge about social justice issues. I feel that I need to start sharing stories and events with my students at an younger age. I recently read an article about gaining empathy and perspective. These are skills that need to be nurtured in young students and even our youngest students can walk in another’s shoes. I decided to share the story of Ruby Bridges with my Junior Kindergarten students this past month. This fit with many of the discussions that the teachers were having with students in the classroom and was an opportunity to talk to students about injustice and how to stand up to it.

We started by reading the book The Story of Ruby Bridges  by Robert Coles. As we read the book we talked about what was happening in the story, including what segregation was and why it was unfair that people were treated differently by the color of their skin. We shared details about about Ruby Bridges’s real life and the fact that this is all a true story. We read the first half of the book and stopped on the page when Ruby was entering the school for the first time and white people were lined up yelling mean and ugly things at her, that US Marshals had to walk Ruby into the school to protect her and that many of the people in the crowd wanted to hurt her. We stopped the story there and students broke up into small groups with a teacher. We asked students to share what they thought Ruby was feeling at the moment. We asked students to put themselves in Ruby’s shoes and think about how they would feel if they were Ruby. Students shared that they would feel sad, lonely, scared, and angry. Some thought that she would want to run home, be with her mom and dad or go back to her old school where she was welcome. Others shared that maybe Ruby felt proud that she was helping bring about change and that she was brave.

The next week we finished the story and shared some of the historic details about Ruby’s life and what it was like after that first year of desegregation. Next we broke into small groups again with students and teachers and asked the students to think about what they would have done to stand up with Ruby Bridges. Students shared ideas like walking into school with her, holding her hand, telling the people that were being mean that they were wrong, telling people that everyone should be treated nicely, and being Ruby’s friend.

The final step of the project was to share a photo taken on Ruby’s first day of school that is part of the National Archives. We used the library’s green screen and the green screen app Do Ink to take a picture of each student standing in the historic picture with Ruby. Students then attached their picture to a poster sharing how they would stand up with Ruby Bridges. We shared these posters in a display in the library hallway and shared the students’ project at an all school assembly.


This project was really wonderful and showed me that even our youngest students have learn and have a conversation about topics of social justice. Students can gain empathy and understanding by reading books and talking about how the characters are feeling. I think as teachers in these difficult times it is more important than ever to help our student to gain empathy for others and be able to understand how someone else might be feeling and going through. I plan to do more projects like this in the future with not only my Junior Kindergarteners and my other students.

Thursday, December 15, 2016

Interactive Story Maps: Design, Maker & Legends with 3rd Grade Part 3

The final step of the Native American Interactive Story map project was for 3rd graders to share their final project. Student wanted to be able to share their maps with not only their classmates but with the whole third grade. We were able to find a shared time for the whole grade and they were able to share with everyone. The interactive story maps were setup around the library. Students connected their elements, started their maps up and then walked around to see their classmates creations.


Everyone did a wonderful job with this project. Students really embraced the idea of creating an interactive map for their Native American legends study. They worked at all the stages of this project from the summarizing, ideating and designing, testing and reworking to creating a final project. What was also wonderful was that some of the projects had some technical difficulties but the students embraced that as well. They figured out how to make the project work in a new way. The fact that the students were able to take their original idea and rethink it when it did not work to find a way to make it work was, I think, one of the best outcomes of the project. I also feel it was another example of how the maker culture and movement can fit with literature and literacy studies.


Sunday, December 4, 2016

Interactive Story Maps: Design, Maker & Legends with 3rd Grade Part 2

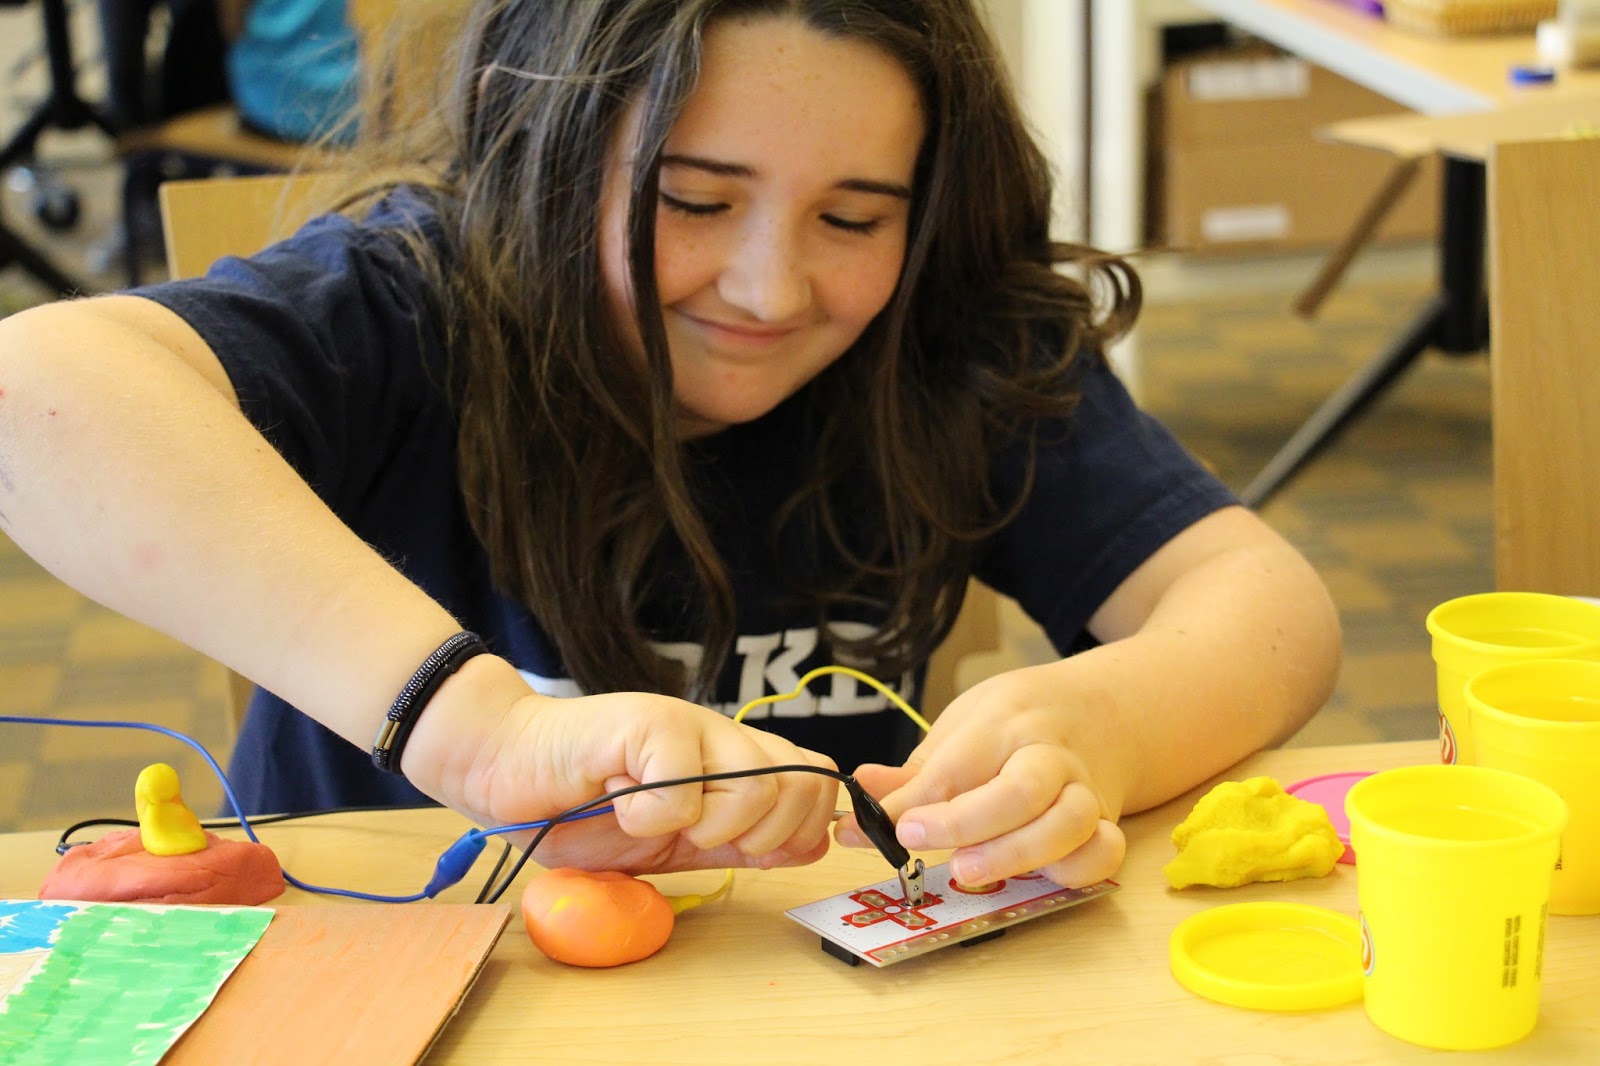
The next step of the process was to introduce the students to the elements they would be using to make their storyboards interactive. We started with having the different materials that would be available for them to play around with and try to become familiar with how they worked. The options were Makey Makey (http://www.makeymakey.com/) , LittleBits (http://littlebits.cc/), simple motors, and paper circuits (https://chibitronics.com/) and LED lights.  Makey Makey turns everyday objects into touchpads that students connected to sounds they recorded in Scratch. LittleBits are simple magnetic connective circuits. Paper circuits by Chibitronics are LED lights and copper tape that can be taped to cardboard and paper. The simple motors we purchased from Amazon with AAA battery packs. The petting zoo allowed students to walk around and play with the options and familiarize themselves with how they worked so when they moved to the planning stage they had a idea of how everything worked.


Then we assigned the students their interactive element. We assigned the elements for two reasons, one so that each story had four different interactive elements and second so that we would have enough of the materials to share across the grade.

Then the students did their planning. They designed what their storyboard would look like and how they would use their interactive element with their section of the legend. Students had to think about how the interactive element would highlight an important moment in their section of the story. They also planned out what materials they would use. Then they started making!


We spent 2-3 forty minute sessions building. In addition to the interactive elements students had paper, markers, cardboard, tape, playdough and more to build and create their interactive boards. Some of the student’s plans worked the first time. Some of the students needed to rethink and rework their original plans to make their boards work. Students were so engaged and so involved in the process. They were focused on their tasks and worked so hard to make their boards work. When they needed to rework their ideas that they were open to rethinking as well as receiving feedback from others on their ideas. Students were engaged and committed to figuring out what they needed to do. Those students that finished earlier went and helped other students who needed some assistance with their boards.


The final step will be our share out! The whole third grade will share their storyboards in a share out day. Students are so excited to share their boards with their grade mates as well as share their work.

Sunday, November 20, 2016

Interactive Story Maps: Design, Maker and Legends with 3rd Grade

I am always looking for ways to combine design and maker activities with literature and reading. Each year the third grade classes read Native American legends as part of their literature studies. In the past we have collaborated on a project where students summarized the stories, found images that highlighted the story and recorded their summaries using iMovie. The project was a good one that introduced iMovie to the students and they worked in small groups which helped them develop collaboration skills. There were also challenges, sometimes students struggled to understand the stories, iMovie could be challenging on the iPads and there were concerns with the images students found when searching for Native American themes on Google. I was interested in rethinking this project and trying something new this year.

Over the summer I attended Project Zero Classroom at Harvard’s Graduate School of Education and it was an amazing experience. During the week I participated in a session where we showed our understanding of a poem using art, music and movement. I was really inspired by this activity and was hoping to find a way to incorporate it into my projects this year. I also came across an amazing video on twitter where students created an interactive room. I thought what if we combined the ideas of sharing a piece of literature with movement, art, and music, with the idea of an interactive story map for the third grade Native American legends project.


The first step was having the students listen and read their Native American legend stories. In each class four students were assigned one story. We had the students read the stories and listen to audio recordings of the stories several times. The listening to the audio recording of the stories as well as reading them several times really helped with students understanding the stories. During the student’s literacy time they discussed and shared their understanding of the stories and talked about the characteristics and traits of legends. We then had students summarize their legend using a graphic organizer with four categories first, next, then and finally. Students worked on really thinking about what were the most important elements of the legend and summarizing the story in their own words.


For the next step students were assigned one section of their Native American legend. They each drew a picture of the most important event in their section of the legend. They were asked to really think about what was the essential event of their section and to spend time illustrating the story with their artwork and imagination.


Next: Introducing the Design and Maker elements of the Story Maps.

Friday, November 11, 2016

Geometry, Books and Second Grade

We have been looking for more ways to connect what we are doing in the library and technology time with what is happening the classrooms. The second grade classrooms were working on their geometry units in the classroom and we thought this would be a good way to introduce a great book, the Skitch app and the 3D printing software Tinkercad.


We started the project reading the awesome books City Shapes by Diana Murray. In the story a young girl walks through the city while a pigeon flies above both seeing shapes in the everyday sights of the city. We talked about and pointed out all the shapes we saw in the illustrations in the book.


Next we introduced the app Skitch that allows you to take a photograph and then draw on the picture and add text to the pictures. Students were paired up and went on a design hunt around the library. The goal was to find everyday objects in the library that were made up of the 3D shapes that they were learning about in their math lessons.


Then we introduced the students to the 3D design software Tinkercad. The program is a free website and a great introduction for students to designing with 3D objects. Students again worked in pairs to design everyday objects with 3D shapes.

The final step was to print their designs on the library 3D printers. The second grade teachers now have the designs in their classrooms and have them as examples of 3D shapes to use in future lessons!


Tuesday, November 8, 2016

Kindergarten Little Red Riding Hood Design Challenge


In kindergarten I like to do a design challenge around a fairy tale. During this challenge we talk about the elements of the story and I introduce students to the ideas of the design process including brainstorming, ideate and prototyping. This year we read the story of Little Red Riding Hood.


Each year I start with a fairy tale because most of my students have heard them before. I feel that this familiarity with the story helps them to move into the story mapping and the design challenge. Before I start the story I talk to the class about looking at the setting of the story and where the beginning, middle and end of the story takes place. Then we read the story together as a class. Next we map out the story. We drew where the beginning, middle and end of the story takes place. That is our first lesson time.


The next week I have the students recall and retell the story and we map the beginning, middle and end again on the whiteboard. Then I introduce the design challenge. I tell the students that Little Red wants to be able to continue to visit her grandmother’s house and it is our challenge to come up with a safer way for her to get from her house to her grandmother’s house. I pull out large maps of our story along with legos and keva blocks and students start building their ideas. Next we share out what they built, they included cars, boats, trains, ziplines and teleportation stations. As students are sharing I start to put their ideas into categories.


The next lesson we recall and retell the story again. Then I share what categories their ideas fit into. This year we had four categories vehicles, fences, bridges and traps. I decided to introduce the students to 3D printing for this project. We have two 3D printers in the library that are always going and the students are amazed by them whenever they are in the library. The students were placed in small groups with a teacher and were given one of the four categories to design a prototype that would help Little Red. Working with the 3D printing software Tinkercad, students (with the help of the teacher) designed and created 3D prototypes using different 3D shapes. They can up with some amazing ideas! Some were fences that had security cameras and lasers, traps that looked like grandma’s house to trick the wolf and a double decker taxi bus because Little Red can’t drive yet.


We then made a movie explaining the process that students went through and shared their final prototype designs at an all school assembly.