Thursday, December 15, 2016

Interactive Story Maps: Design, Maker & Legends with 3rd Grade Part 3

The final step of the Native American Interactive Story map project was for 3rd graders to share their final project. Student wanted to be able to share their maps with not only their classmates but with the whole third grade. We were able to find a shared time for the whole grade and they were able to share with everyone. The interactive story maps were setup around the library. Students connected their elements, started their maps up and then walked around to see their classmates creations.


Everyone did a wonderful job with this project. Students really embraced the idea of creating an interactive map for their Native American legends study. They worked at all the stages of this project from the summarizing, ideating and designing, testing and reworking to creating a final project. What was also wonderful was that some of the projects had some technical difficulties but the students embraced that as well. They figured out how to make the project work in a new way. The fact that the students were able to take their original idea and rethink it when it did not work to find a way to make it work was, I think, one of the best outcomes of the project. I also feel it was another example of how the maker culture and movement can fit with literature and literacy studies.


Sunday, December 4, 2016

Interactive Story Maps: Design, Maker & Legends with 3rd Grade Part 2

The next step of the process was to introduce the students to the elements they would be using to make their storyboards interactive. We started with having the different materials that would be available for them to play around with and try to become familiar with how they worked. The options were Makey Makey (http://www.makeymakey.com/) , LittleBits (http://littlebits.cc/), simple motors, and paper circuits (https://chibitronics.com/) and LED lights.  Makey Makey turns everyday objects into touchpads that students connected to sounds they recorded in Scratch. LittleBits are simple magnetic connective circuits. Paper circuits by Chibitronics are LED lights and copper tape that can be taped to cardboard and paper. The simple motors we purchased from Amazon with AAA battery packs. The petting zoo allowed students to walk around and play with the options and familiarize themselves with how they worked so when they moved to the planning stage they had a idea of how everything worked.


Then we assigned the students their interactive element. We assigned the elements for two reasons, one so that each story had four different interactive elements and second so that we would have enough of the materials to share across the grade.

Then the students did their planning. They designed what their storyboard would look like and how they would use their interactive element with their section of the legend. Students had to think about how the interactive element would highlight an important moment in their section of the story. They also planned out what materials they would use. Then they started making!


We spent 2-3 forty minute sessions building. In addition to the interactive elements students had paper, markers, cardboard, tape, playdough and more to build and create their interactive boards. Some of the student’s plans worked the first time. Some of the students needed to rethink and rework their original plans to make their boards work. Students were so engaged and so involved in the process. They were focused on their tasks and worked so hard to make their boards work. When they needed to rework their ideas that they were open to rethinking as well as receiving feedback from others on their ideas. Students were engaged and committed to figuring out what they needed to do. Those students that finished earlier went and helped other students who needed some assistance with their boards.


The final step will be our share out! The whole third grade will share their storyboards in a share out day. Students are so excited to share their boards with their grade mates as well as share their work.

Sunday, November 20, 2016

Interactive Story Maps: Design, Maker and Legends with 3rd Grade

I am always looking for ways to combine design and maker activities with literature and reading. Each year the third grade classes read Native American legends as part of their literature studies. In the past we have collaborated on a project where students summarized the stories, found images that highlighted the story and recorded their summaries using iMovie. The project was a good one that introduced iMovie to the students and they worked in small groups which helped them develop collaboration skills. There were also challenges, sometimes students struggled to understand the stories, iMovie could be challenging on the iPads and there were concerns with the images students found when searching for Native American themes on Google. I was interested in rethinking this project and trying something new this year.

Over the summer I attended Project Zero Classroom at Harvard’s Graduate School of Education and it was an amazing experience. During the week I participated in a session where we showed our understanding of a poem using art, music and movement. I was really inspired by this activity and was hoping to find a way to incorporate it into my projects this year. I also came across an amazing video on twitter where students created an interactive room. I thought what if we combined the ideas of sharing a piece of literature with movement, art, and music, with the idea of an interactive story map for the third grade Native American legends project.


The first step was having the students listen and read their Native American legend stories. In each class four students were assigned one story. We had the students read the stories and listen to audio recordings of the stories several times. The listening to the audio recording of the stories as well as reading them several times really helped with students understanding the stories. During the student’s literacy time they discussed and shared their understanding of the stories and talked about the characteristics and traits of legends. We then had students summarize their legend using a graphic organizer with four categories first, next, then and finally. Students worked on really thinking about what were the most important elements of the legend and summarizing the story in their own words.


For the next step students were assigned one section of their Native American legend. They each drew a picture of the most important event in their section of the legend. They were asked to really think about what was the essential event of their section and to spend time illustrating the story with their artwork and imagination.


Next: Introducing the Design and Maker elements of the Story Maps.

Friday, November 11, 2016

Geometry, Books and Second Grade

We have been looking for more ways to connect what we are doing in the library and technology time with what is happening the classrooms. The second grade classrooms were working on their geometry units in the classroom and we thought this would be a good way to introduce a great book, the Skitch app and the 3D printing software Tinkercad.


We started the project reading the awesome books City Shapes by Diana Murray. In the story a young girl walks through the city while a pigeon flies above both seeing shapes in the everyday sights of the city. We talked about and pointed out all the shapes we saw in the illustrations in the book.


Next we introduced the app Skitch that allows you to take a photograph and then draw on the picture and add text to the pictures. Students were paired up and went on a design hunt around the library. The goal was to find everyday objects in the library that were made up of the 3D shapes that they were learning about in their math lessons.


Then we introduced the students to the 3D design software Tinkercad. The program is a free website and a great introduction for students to designing with 3D objects. Students again worked in pairs to design everyday objects with 3D shapes.

The final step was to print their designs on the library 3D printers. The second grade teachers now have the designs in their classrooms and have them as examples of 3D shapes to use in future lessons!


Tuesday, November 8, 2016

Kindergarten Little Red Riding Hood Design Challenge


In kindergarten I like to do a design challenge around a fairy tale. During this challenge we talk about the elements of the story and I introduce students to the ideas of the design process including brainstorming, ideate and prototyping. This year we read the story of Little Red Riding Hood.


Each year I start with a fairy tale because most of my students have heard them before. I feel that this familiarity with the story helps them to move into the story mapping and the design challenge. Before I start the story I talk to the class about looking at the setting of the story and where the beginning, middle and end of the story takes place. Then we read the story together as a class. Next we map out the story. We drew where the beginning, middle and end of the story takes place. That is our first lesson time.


The next week I have the students recall and retell the story and we map the beginning, middle and end again on the whiteboard. Then I introduce the design challenge. I tell the students that Little Red wants to be able to continue to visit her grandmother’s house and it is our challenge to come up with a safer way for her to get from her house to her grandmother’s house. I pull out large maps of our story along with legos and keva blocks and students start building their ideas. Next we share out what they built, they included cars, boats, trains, ziplines and teleportation stations. As students are sharing I start to put their ideas into categories.


The next lesson we recall and retell the story again. Then I share what categories their ideas fit into. This year we had four categories vehicles, fences, bridges and traps. I decided to introduce the students to 3D printing for this project. We have two 3D printers in the library that are always going and the students are amazed by them whenever they are in the library. The students were placed in small groups with a teacher and were given one of the four categories to design a prototype that would help Little Red. Working with the 3D printing software Tinkercad, students (with the help of the teacher) designed and created 3D prototypes using different 3D shapes. They can up with some amazing ideas! Some were fences that had security cameras and lasers, traps that looked like grandma’s house to trick the wolf and a double decker taxi bus because Little Red can’t drive yet.


We then made a movie explaining the process that students went through and shared their final prototype designs at an all school assembly.


Tuesday, October 18, 2016

Dot Day: Art Exhibition and Reflection

After the testing and redesign phase of the project, students completed their final ArtBot design and test. Next students created three pieces of original art. Students were excited to see their final ArtBot design working! In the story The Dot, Vashti signed her art to take ownership of what she had created because our project was based on collaboration all members of the ArtBot group signed all the pieces of art. All of the art is on display in our library hallway to share with the rest of the school.


The final step of this project was to give the students a chance to reflect on the project and process, what was positive about the experience and what they would change about the project. Some of the positives for students included: everyone being included in the building process, having ways to make sure that everyone had a voice, the freedom to create their robot anyway they wanted to, and making the art. The challenges they had included the materials, trouble attaching the markers and issues with some of the smaller parts. The students really loved the overall project and recommended that we do it again next year with first grade.


I feel the project went very well. I liked that the project was a collaboration with the tech team and the classroom teachers. Students were very invested in the whole process. They were so excited to design the ArtBots, rework the design when it needed adjustment, and then the joy when the ArtBot worked. Students were so proud of their robots and art that they created. I also really like the connection between literature, maker projects, design projects, and collaboration. We are going to reference the collaborator qualities that the students came up with throughout the school year as we work on other projects. I am interested to see how the students’ respond and recall the collaborator qualities on future projects.

Tuesday, October 4, 2016

Dot Day: Prototyping and Testing our Art Robots

This week students continued their art robot project inspired by International Dot Day. Students finished their collaboration expectations and norms and their sketch of their art robot. Then they started making their robots!


Students had all the materials they needed for their robots and followed their designs to but their robots together. Adults were on hand to help with taping and attaching the wires when needed. The adults in the room also redirected students to their collaborator norms if there were any conflicts in the groups. When one group was struggling with who was adding the materials to the robot we revisited their plan to make sure that everyone was working together. The group's plan was to take turns adding materials to build the robot. The group redirected themselves and followed their original plan to take turns and their group work continued with everyone feeling like they were apart of the group building.


Many groups had a tested their robot and it was off balance, didn't move or fell over. The groups needed to step back and figure out what they needed to change in their design to get their art robot up and running. Students saw their initial art robot failure as an opportunity to rethink what their design and rework their art robot to get it working.

Some of the groups have some more adjusting and rethinking to do during the next building session to finish their art robot and art creations. Then we will have a final reflection piece to have students think on the process, the collaboration and what they learned from this experience.

Tuesday, September 27, 2016

Making Our Mark with Collaboration

The next step in The Dot project was focusing on the qualities of a collaborator. We organized all of the qualities and ideas that students had about being a collaborator and four themes emerged. Those themes were: Listen, Compromise, Work Together and Everyone is Included. Students were placed into small groups of two or three students. Their first step as a group was to come up with ideas and norms for their group based on the four themes of qualities of a collaborator. Students came up with great ideas including going around in a circle so everyone had a chance to share their ideas, making sure that at least one idea from each team member was included in the design and making each person in the group responsible for each of the materials being used in the project.


After students agreed on their group norms they designed the first iteration of their art bots. Students sketched out the initial plan for their robots making sure that they listened to their teammates, compromised and that everyone was able to share in the planning of their first prototype of the art bot.


The best part of this portion of the project was observing students reference their group norms and ideas as they collaborated with their classmates to plan for their project. Students were invested in the group norms for collaboration that they created and put them into practice as they began their project. I am excited to see how the rest of the project progresses.

Next step: Testing their designs!

Monday, September 19, 2016

Dot Day: Reflections and Connections

The first step in the Dot Day Project was reading the book The Dot by Peter Reynolds. Before I started reading the book I asked students to think about the beginning, middle and end of the story and what they noticed about Vashti, the main character, from the beginning of the story and the end of the story. If you have not read the story Go Read it! It’s a great book! Also here is a link to the summary and reviews on Goodreads http://www.goodreads.com/book/show/825377.The_Dot if you want to learn a bit more about the book.

The next step was for students to reflect on how Vashti changed in the books from the beginning to the end. I asked the students to think of the words from the book that described our character at the beginning. Words that came up included “can’t”, “won’t”, and “scared.” Then I asked for words that described Vashti at the end. Those words included “trying” “experimenting” “encouraging others” and “can do it.” We posted all these words on our reflection board.


The next step was to talk about the idea of how we can make our mark. We talked about the ways that Vashti made her mark on paper with art. Students talked about how she made big dots, small dots, tried all different colors and designs and she even made a dot without making a dot. Then we talked about how we make our marks on other people’s hearts with the way that we treat them. Students focused on ways that they make their mark on their classmates. Some of the ideas included “helping others” “sharing skills” “treating people the way we would like to be treated” and “sharing with each and listening to each other.” All of these ideas and thoughts were added to our board.


The final step before our project was to talk about “How do we work together as collaborators to make our mark?” I asked students to close their eyes and think of a time either at school, home or play where they worked with someone else. Students talked about building legos at home with a sibling, playing on their Saturday soccer team and working in math pairs. I asked what was the most important thing to make sure everyone collaborated and worked together? Their ideas included “listening to each other,” “sharing responsibility for materials,” “everyone has a part,” and “compromising.” All of these ideas were added to our board.


These collaboration qualities are going to be the norms for each group as they work together to build their art robots starting next week. My goal is to have an adult with each group of three students to listen, observe, document and remind students of our collaboration norms as they work through the robot building project and the art creation.

Next step: Art Bot building!

Sunday, September 11, 2016

Deeper Connections with Dot Day


International Dot Day is one of my favorite days to celebrate with my students each year. Based on the book The Dot by Peter Reynolds, the story is a wonderful celebration of learning a new skill, never giving up, believing in yourself and passing that belief onto others. The story is a wonderful one to share with students to start the year as an inspiration to students to embrace challenges and see failure as opportunity. I have tried many activities over the last few years including creating dot inspired work, students sharing a new skill they want to learn and talking about making your mark on your community in a positive way. This year I am trying my biggest Dot Day inspired project so far with my first grade students over several weeks. Following the Buck Institute of Education’s (bie.org) project based learning plan I have created a project that incorporates the first grade curriculum of school and community, collaboration, and maker design and creation.


International Dot Day &
Big Question
How do we work together as collaborators to make our mark?


Overview and layout of project:
In celebration of International Dot Day students will read the story The Dot by Peter Reynolds. They will discuss and reflect on the themes of the story including the ideas of working, trying, and not giving up when learning something new, what it means to make your mark with art, and what it means to make your mark in your classroom community and school community.


Students will brainstorm in small groups and with the class to create a list of qualities that help someone be a good collaborator, team member or classmate. Each class will create a list of the qualities they think are most important for people to work together.


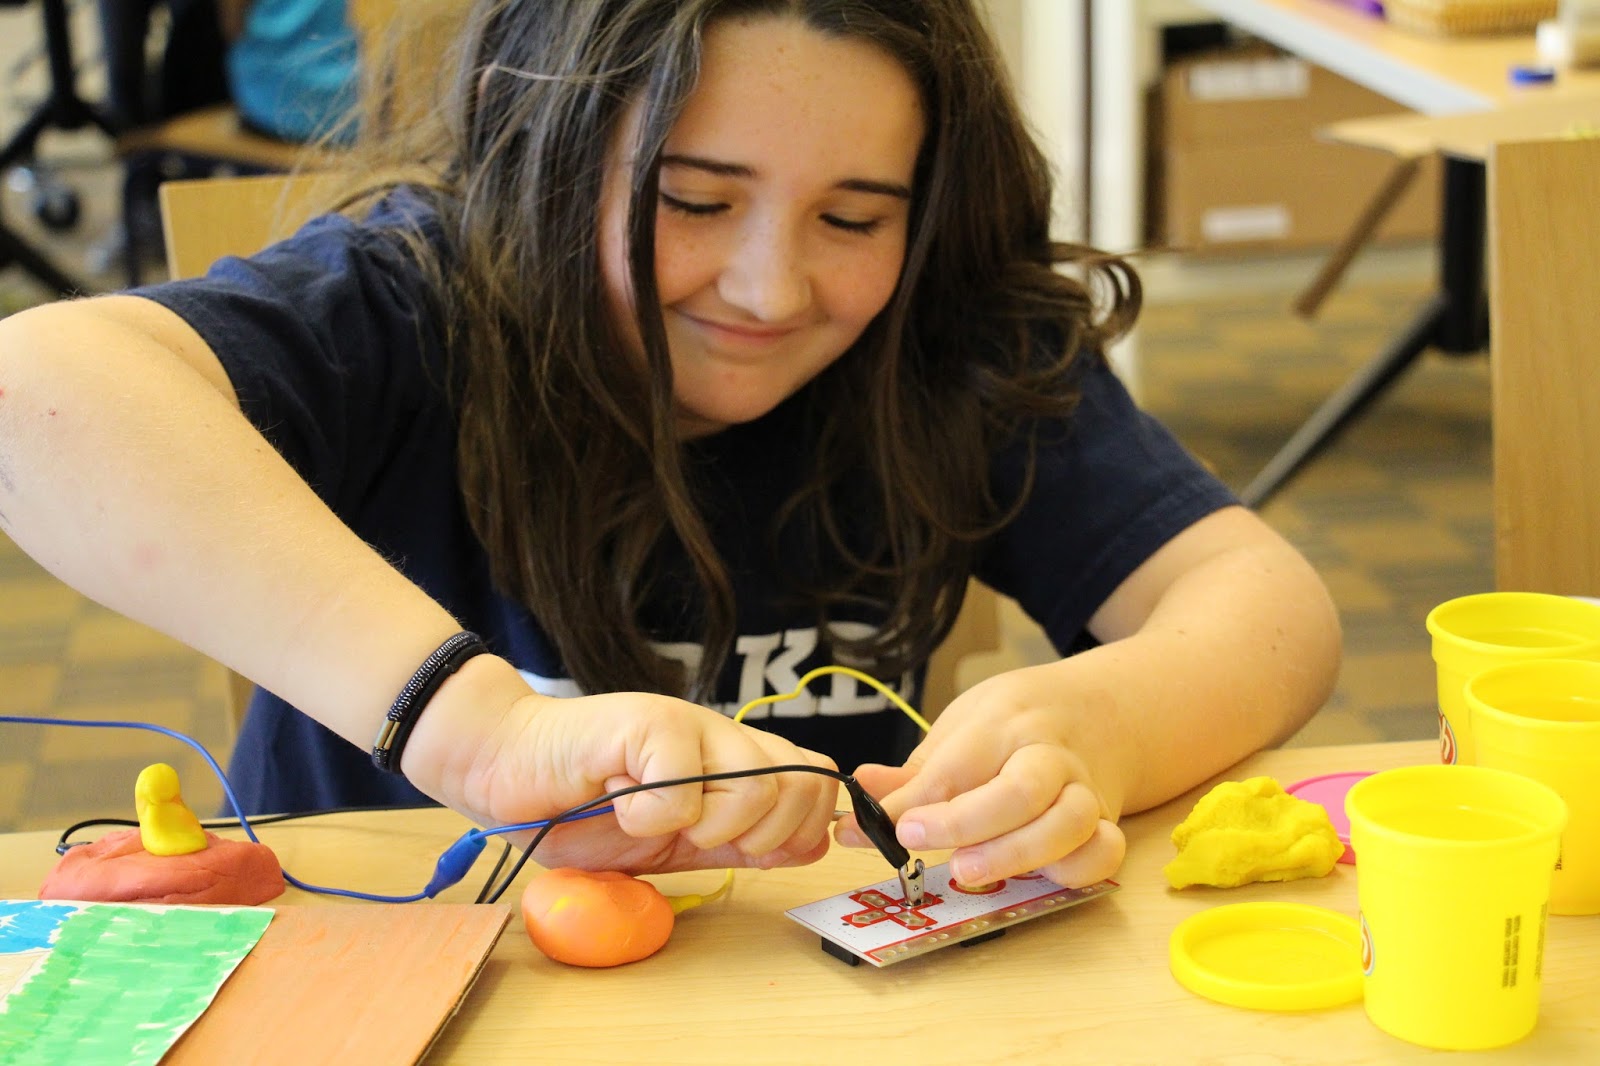
Students will next put the qualities of a good collaborator to the test. Working in small groups students will be given the materials to create an Art Robot. As a group they will need to decide how they want to build their bot, the art materials and colors and how they want the art to be created. Each group will set the norms of the group based on the brainstorming ideas about qualities of a collaborator and use those norms as they create their art and make their mark both on paper and in their groups.


Students will use the materials and create their bots. They will test and rework if needed and then create their final art project. Students will use the iPads to record their Art Robot creating their art work. They will also create a small recording reflecting on what qualities of a collaborator their group focused on and how that helped their group work together to complete their project.


The art work, Art Bots, qualities of collaborators, and QR codes with their video recordings will be on display in the library hallway. Also possibility of sharing their work at an MX or another community share opportunity.


The qualities of collaboration that the classes learned will become the norms for the rest of the school year as the students engage in collaborative work, classroom work or community programs.


Estimated time:
4-5 weeks starting week of Sept. 12
ILIS Library and ILIS Lab time


Content Goals:
  • Deeper understanding of the meaning of a story (beginning, middle and end, theme of the book, characters, problem and solution)
  • Summarizing and retelling a story
  • Apply meaning from a story to their own lives
  • Expressing their understanding in different formats (whole class discussion, small group work, creation with art, and video recording)
  • Collaboration and teamwork
  • Ownership of the norms of collaborative work for the whole school year
  • Design process: ideate, test, rework, test and final product
  • Connection to the classroom work of what it means to be a member of a classroom community and larger school community
  • Creativity- working to create a new piece of artwork and designing and building the Art-Bot
  • Understanding the nature of technological design
  • Creation- producing documentation using device


Assessment:
  1. Observing students in both the whole class setting as they brainstorm the ideas from the book and the norms of collaboration
  2. Observing students in their small group work to assess their understanding of the ideas of collaboration and their implementation of those norms
  3. Listening for student recollection of elements of the story and their understanding of the connection between the book and the project they are working on
  4. Observation of video recording documentation and evaluation of student understanding/connection based on documentation


Resources:
  • The Dot by Peter Reynolds
  • Materials needed for the Art Bots: http://researchparent.com/homemade-wigglebot
  • Large paper for brainstorming sessions for norms
  • Group papers to document norms each group is working on
  • iPads for video recording of projects and final reflections


Reflection:
Student: a final student reflection on the project either a small selection of students to share what they liked and didn’t like about the project and what they most got out of the project or a larger class discussion about the project

Teacher: a final reflection from all teachers involved on the positives and negatives of the project, what the benefits were for the students, and any suggestions or ideas for reworking the project for next year.

I will be updating the blog with the project as the students and I try this new celebration of Dot Day! Be sure to check back and see how first grade makes their mark this year!